
Modern Windows Workflow with WSL2, Alpine Linux, and Oh My Zsh
April 30, 2021Early on in my career I would seek novel solutions to problems, particularly the newest, hottest or most en vogue. As I grew more senior I tended to pick the most dependable or enterprise preferred solutions. One thing that never waivered no matter what was my dedication to developer experience.
My passion for making sure environments and toolchains are easy to set up and get started with has inspired me to record what I call my "workflow" settings. Though I have been exclusively a Mac Developer, Windows workflows have finally started to catch up (that is, until I get my hands on an M1 Chip in the new MacBook Pros).
Today's guide has a focus on setting up your machine with Windows Subsystem For Linux, Windows Terminal, Alpine, and ohmyZSH. This guide could also be considered a fork of NillsF blog here
Here's a sneak peek at our results!
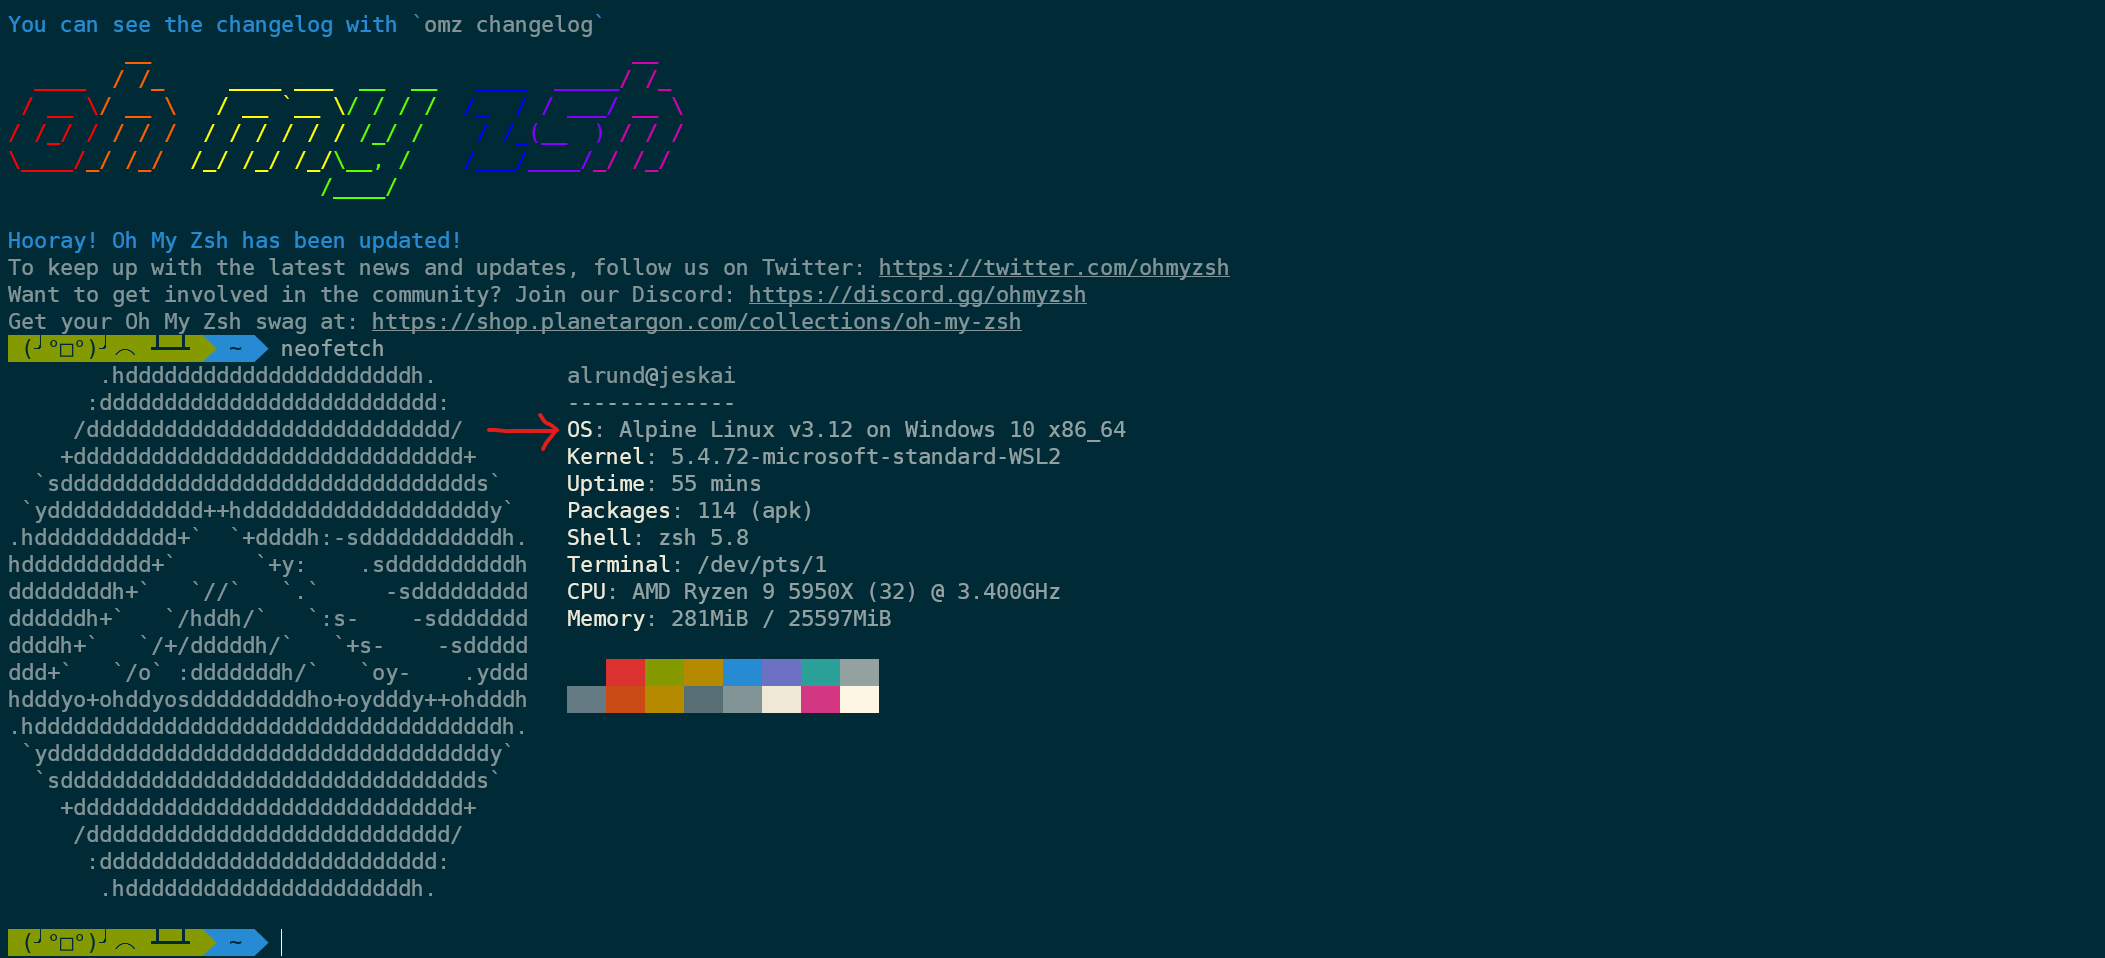
From "scratch", a blank Windows installation, we'll be getting:
- WSL2
- Alpine
- Windows Terminal
- ohMyZSH
First, we'll need to get WSL2, turn it on, and update it. We'll use the "manual" section of this guide. https://docs.microsoft.com/en-us/windows/wsl/install-win10
Enable the Windows Subsystem for Linux (WSL) feature, starting a CMD prompt (right click and run as administrator to prevent permission issues):
dism.exe /online /enable-feature /featurename:Microsoft-Windows-Subsystem-Linux /all /norestart
You may also do this via the "Turn Windows Features on or off" settings GUI, by searching for that phrase after pressing the Windows key and checking the WSL box.
Alpine Linux
The next two steps I found are required specifically for Alpine Linux. For this use case and many others, it's my go-to distro by virture of being super lightwieght, but you're welcome to use Ubuntu or anything else.
Alpine step 1: enable VirtualMachinePlatform
dism.exe /online /enable-feature /featurename:VirtualMachinePlatform /all /norestart
Alpine step 2: Download and install the kernel update https://wslstorestorage.blob.core.windows.net/wslblob/wsl_update_x64.msi
Restart your machine. I found out the hard way that this is the point where a restart seems to be required. You now have WSL2 enabled.
Downloading your Linux distro and Windows Terminal
Before your downloads, open CMD again and set WSL to use version 2, which we just enabled.
wsl --set-default-version 2
Step by Step
- Hit the Windows key, search: Microsoft Store and search: Alpine WSL
- Install
- Launch
- Provide
Enter new UNIX usernameand password, remember this password, we'll use it to gain root later. - Close Alpine.
- Go to the Microsoft Store again, install Windows Terminal
- Open Windows Terminal
- Click the arrow in the top menu and choose settings.
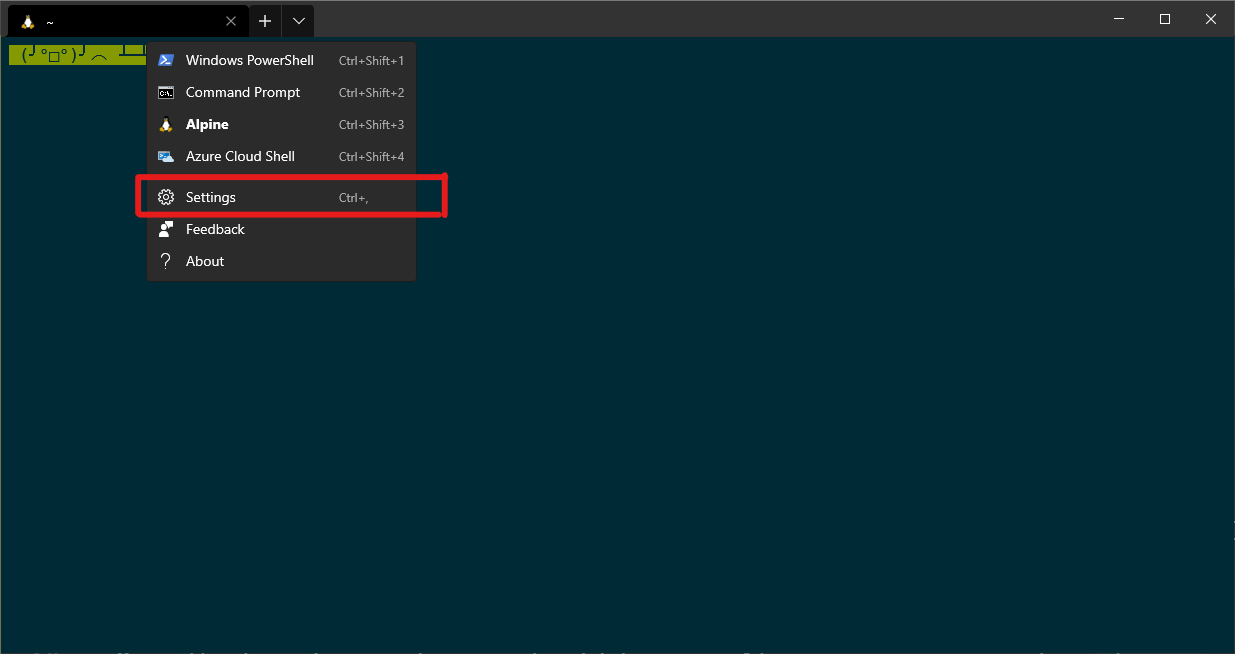
Here you'll have a new interface where you can set the default profile as Alpine. Save in the bottom right. You can also edit the JSON, which will come in handy later.
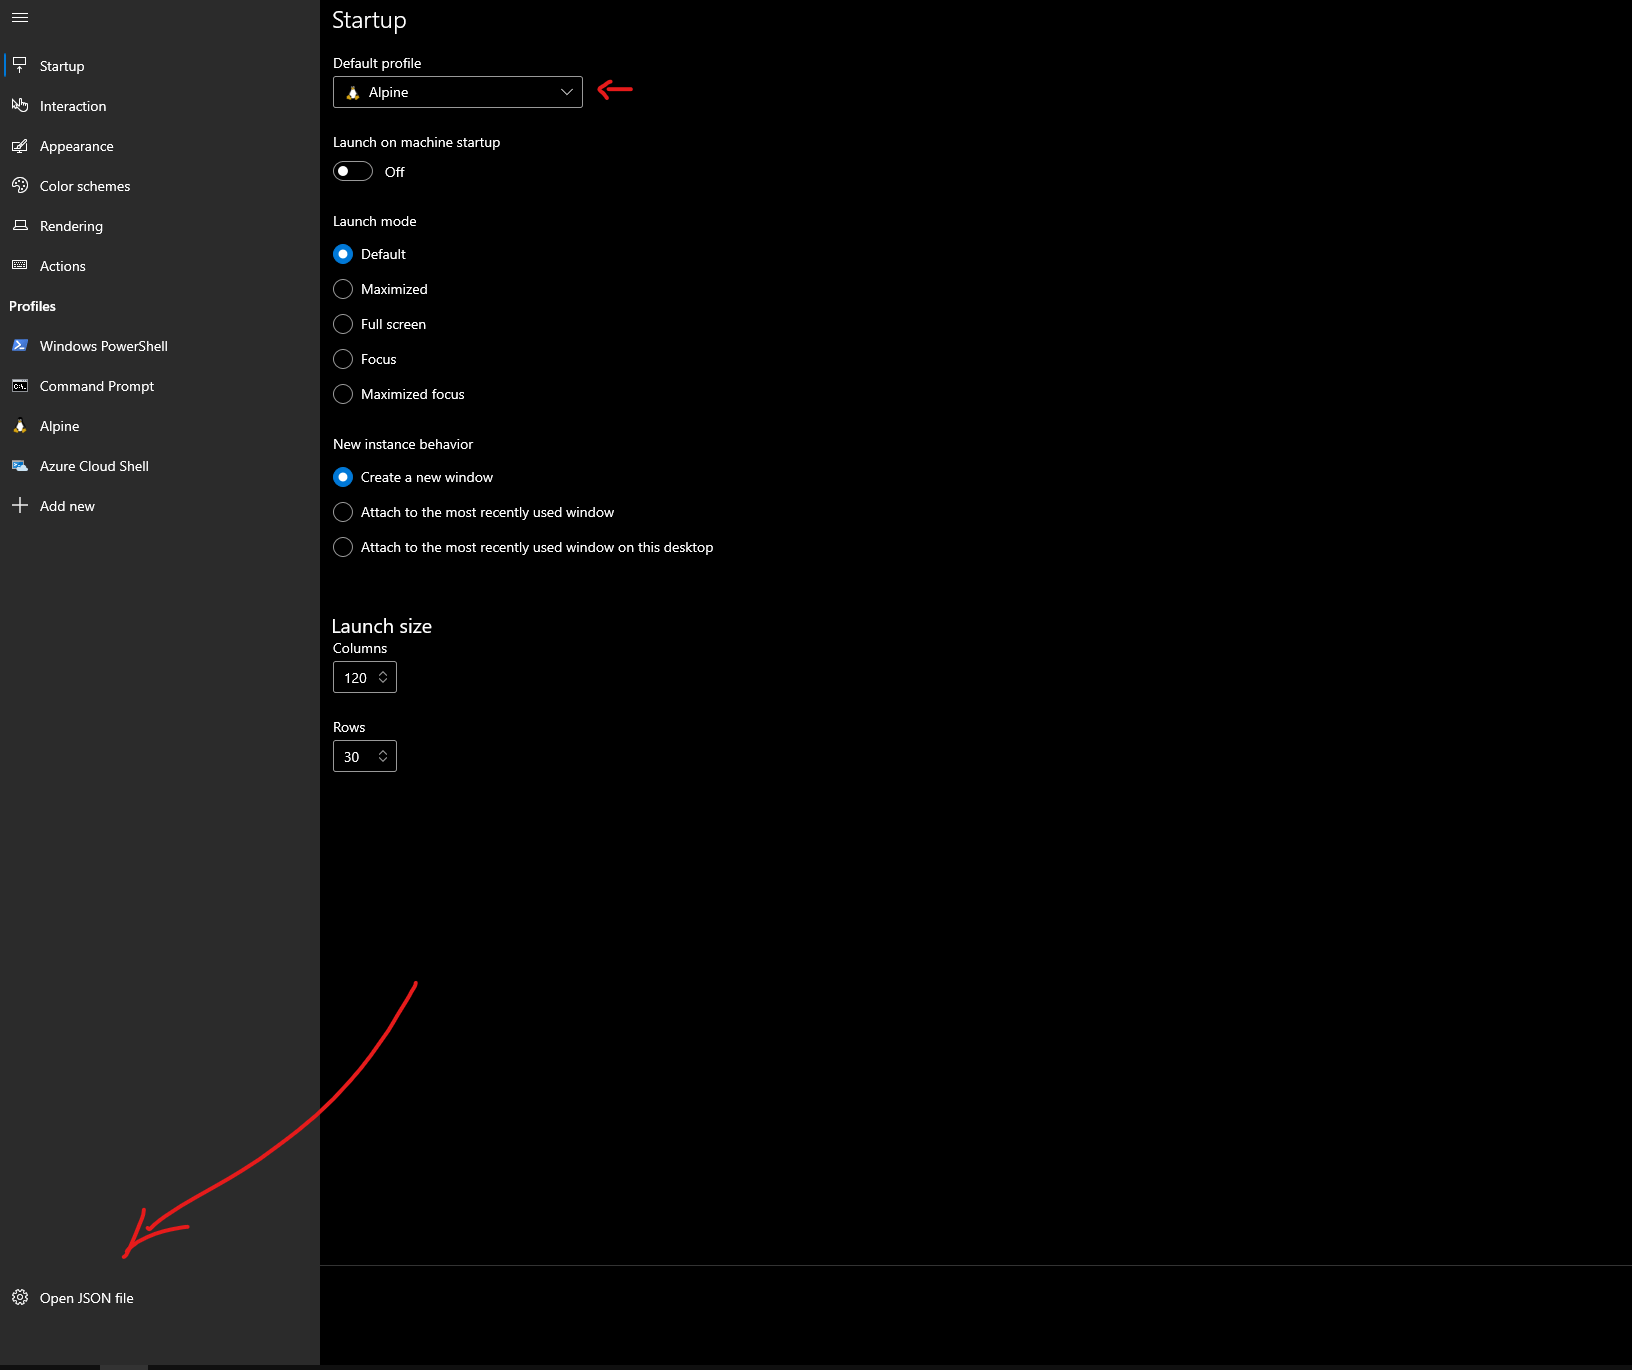
To use the JSON method: find Alpine's guid from the list and paste into the default profile at the top. The next screenshot shows this step as complete.
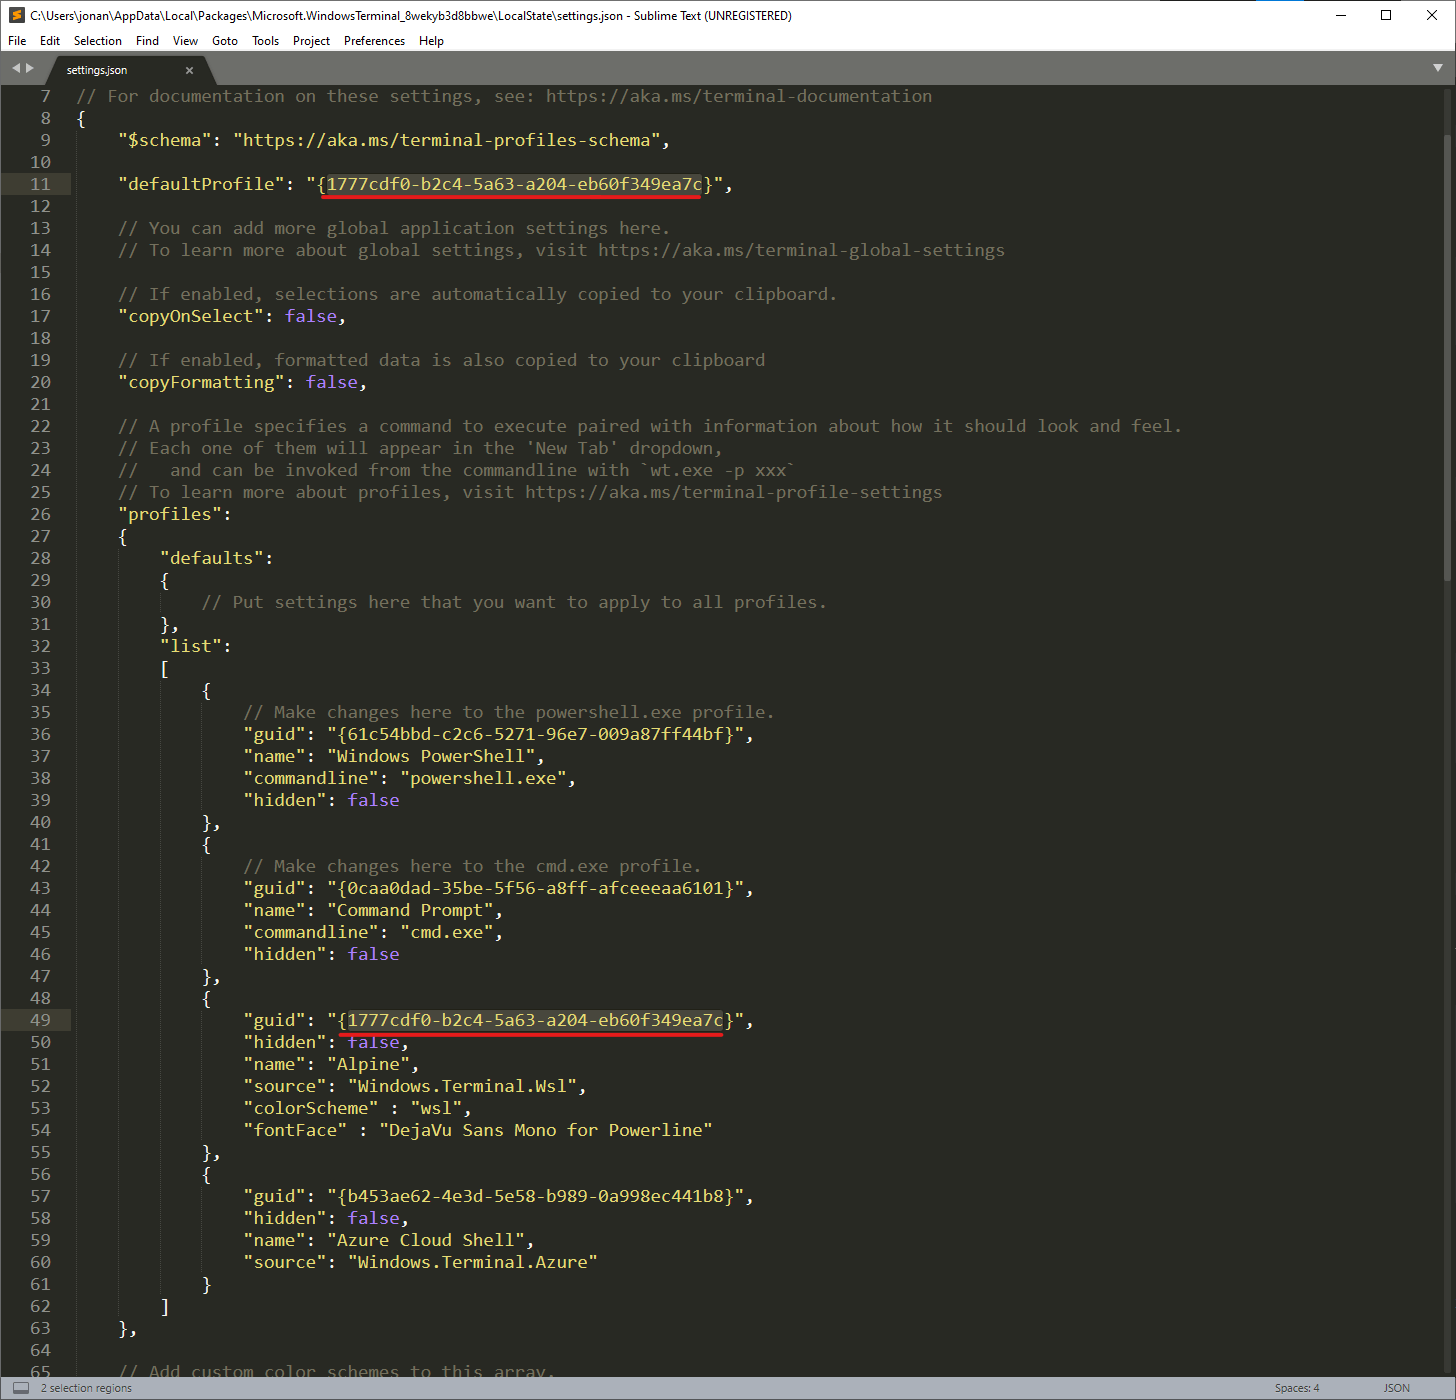
Save, close and then open Windows Terminal, you should have an Alpine environment running, try ls -a
Working with Alpine Linux
We can't really do anything yet, since our user has no permissions, by intention! apk update fails, You can't even sudo: try sudo apk update. We'll need to follow Alpine's Post Installation Recommendations.
Create a normal user, in this case "alrund". (The name is from MtG for those curious.)
adduser -h /home/alrund -s /bin/ash alrund
Enter password for the user. Once created, you need a new root session to do the next steps. Follow these commands:
su -l root # root session
apk add sudo # installing sudo
echo '%wheel ALL=(ALL) ALL' > /etc/sudoers.d/wheel
adduser alrund wheel # put in your user name from the above step, not alrund
You'll need a new session to get out of root. Close the window and restart, do whoami, you should be the user you just finished setting up, not root.
Time for ZSH and other essential packages. Alpine uses "apk" in this format:
sudo apk update
sudo apk add zsh
sudo apk add zsh-vcs
More basics (Alpine lacks these, you may be able to skip this if you are using a different distro)
sudo apk add curl
sudo apk add git
sudo apk add openssh-keygen
sudo apk add openssh-client
Oh My ZSH Theme, Fonts, and Final Touches
Now we can do the fun and easy parts: Install Oh My ZSH and all the good stuff:
sh -c "$(curl -fsSL https://raw.githubusercontent.com/ohmyzsh/ohmyzsh/master/tools/install.sh)"
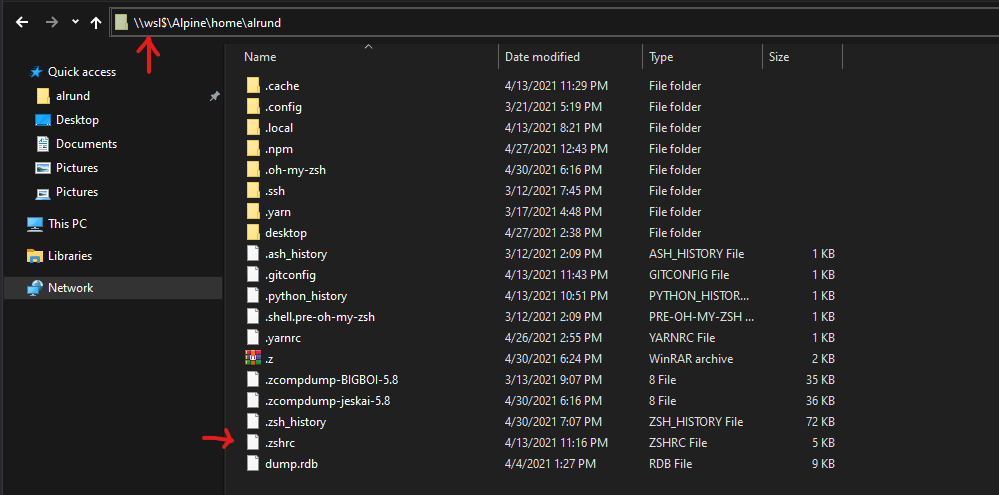
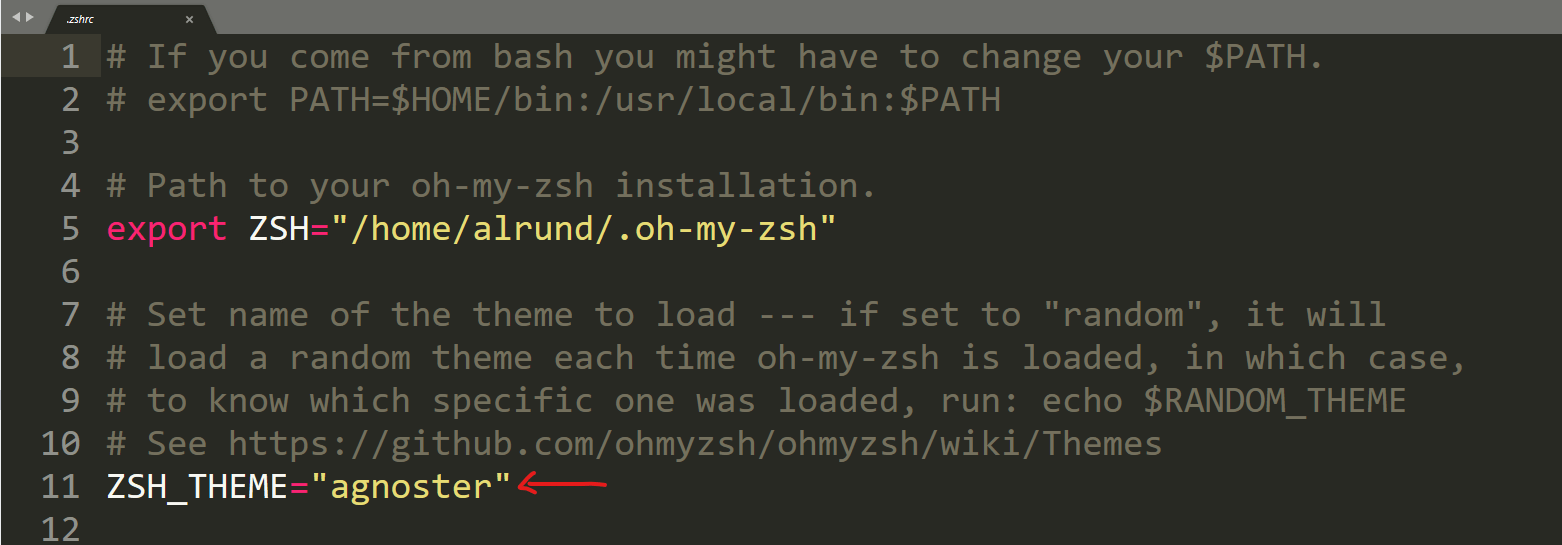
Let's enable a theme. A very popular one that I use is: agnoster. To do that, you can edit ~/.zshrc. At this point you may want to pin your home folder for your user. To get there, you can open a Windows File Explorer window and type in the bar: \\wsl$, from there you can access the files on your WSL2 and pin the appropriate folder to your sidebar.
Editing ~/.zshrc:
Next, we'll add some color. Use the drop down to access Settings in Windows Terminal, then Open up the JSON in the bottom left corner and find the schemes section and paste in our theme:
    // Add custom color schemes to this array.
    // To learn more about color schemes, visit https://aka.ms/terminal-color-schemes
   "schemes": [
        {
            "background" : "#002B36",
            "black" : "#002B36",
            "blue" : "#268BD2",
            "brightBlack" : "#657B83",
            "brightBlue" : "#839496",
            "brightCyan" : "#D33682",
            "brightGreen" : "#B58900",
            "brightPurple" : "#EEE8D5",
            "brightRed" : "#CB4B16",
            "brightWhite" : "#FDF6E3",
            "brightYellow" : "#586E75",
            "cyan" : "#2AA198",
            "foreground" : "#93A1A1",
            "green" : "#859900",
            "name" : "wsl",
            "purple" : "#6C71C4",
            "red" : "#DC322F",
            "white" : "#93A1A1",
            "yellow" : "#B58900"
        }
    ],
We'll also need some cool fonts for our Windows Terminal. This repo on GitHub https://github.com/powerline/fonts has some awesome choices that come pre-patched with the glyphs we'll need to work with the Agnoster theme that we chose. Since you're installing these fonts on Windows, you can head over to the releases and download the zip. Extract the and open the folder using WinRar, then use the PowerShell script inside.
To enable your theme and add your font choice, open the JSON in the settings and find your Alpine or other distro section and add these 3 keys:
(After a recent update to Windows Terminal, you can also do this through the Settings interface by selecting your profile and selecting the Appearance tab)
{
    "guid": "{1777cdf0-b2c4-5a63-a204-eb60f349ea7c}",
    "hidden": false,
    "name": "Alpine",
    "source": "Windows.Terminal.Wsl",

    // ADD THESE:
    "colorScheme": "wsl",
    "fontFace": "DejaVu Sans Mono for Powerline",
    "fontSize": 16
},
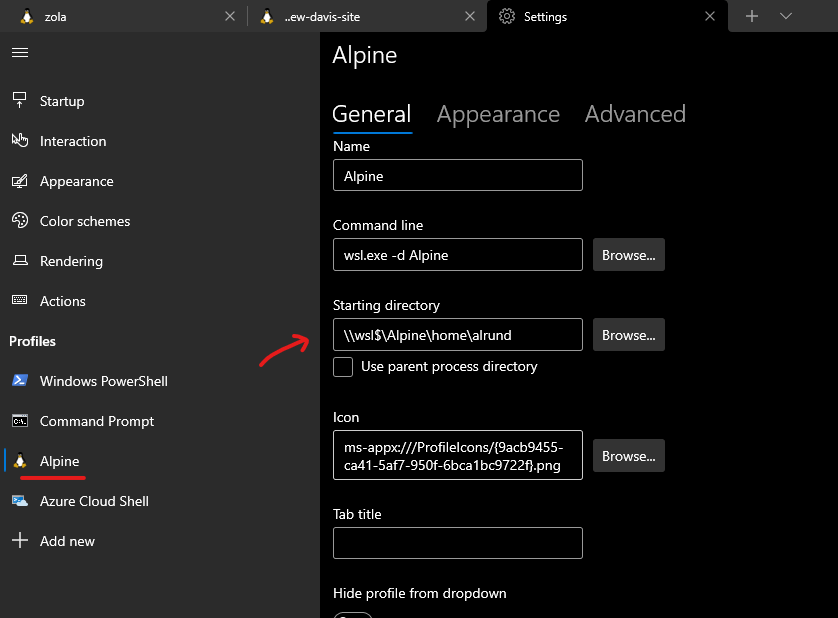
One of the great options in the Settings interface is the default folder. Update it by selecting your profile and chosing the /home/username
Back in your .zshrc, you can add lots of handy things. Some fun, others useful. One of the best things to do is to update your prompt_context and add some aliases:
prompt_context() {
  if [[ "$USER" != "$DEFAULT_USER" || -n "$SSH_CLIENT" ]]; then
    prompt_segment green black "%(!.%{%F{yellow}%}.)(╯°□°)╯︵ ┻━┻"
  fi
}

alias sublime='"/mnt/c/Program Files/Sublime Text 3/subl.exe"'

alias open='"explorer.exe"'
Have fun! And check out Andrew's Workflow on GitHub for more tips and tricks, I'll be updating it soon!
Final Thoughts, Resources, and Articles
While development on Windows has gotten tremendously better and we have some great choices that make it a reasonably good place to get work done, there are some oddities that come with "mixing" file systems between WSL and Windows. You'll notice you need to right-click "Refresh" a folder when saving new files or folders from within WSL before you can see them. To see new changes in Sublime, use the top bar: Project -> Refresh Folders. There are also some oddities around "watching for changes" to files that can occasionally break certain libraries or devtools that depend on inotify. Best of luck and thanks for reading!
- WSL and Mixing File Systems
- Windows Official Docs for WSL
- Using WSL and MobaXterm to Create a Linux Dev Environment on Windows
- NillsF Setting up WSL2, Windows Terminal and oh-my-zsh
- Troubleshooting: "WSL 2 requires an update to its kernel component." Try https://aka.ms/wsl2kernel